How to Assemble WaveLight® LED Lightboxes for Maximum Impact
1. Plan Your Layout for High-Impact Visibility
Before you assemble anything, map out exactly where your units will sit within the stand footprint, noting entrances, main aisles and neighbouring structures. UK exhibition lightboxes work hardest when positioned on key sightlines, rather than buried at the back of a booth. Confirm power access, ceiling heights and whether you’re using single- or double-sided graphics. This planning stage prevents last-minute reshuffles on site and helps you decide whether you need modular custom lightbox solutions for future events.
2. Organise Components to Save Build Time
Once your cases are open, lay every frame profile, connector, power supply and fabric skin on a clean surface and check against the packing list. Many LED lightbox displays are numbered or colour coded, so grouping matching sections immediately cuts down on confusion. This preparation routinely saves 10–15 minutes per unit, which matters when contractors are working to tight build slots. It also reduces the risk of damage or missing parts, a common headache in busy exhibition halls.

3. Build a Rigid Frame for Perfect Graphics
Follow the manufacturer’s numbered sequence, usually starting with the base and working up, ensuring every joint is fully seated and tightened. A square, rigid structure is vital for tensioning seg fabric lightbox graphics without ripples or light leaks. As you add sections, keep checking alignment, particularly when linking multiple units into trade show backlit stands. Clean lines and accurate corners create the premium finish brands expect from illuminated display solutions on crowded show floors.
4. Install and Test LEDs Before Cladding
With the frame upright, fit LED modules or strips into their dedicated channels, keeping spacing consistent to avoid hot spots or dark patches. Once wired, test the system in venue lighting conditions to identify flicker, loose connections or dim runs. This is far easier to fix before the fabric goes on, particularly for tall retail lightbox advertising towers. If you’re aiming for energy efficient lightbox systems, confirm drivers and dimmers are performing to specification.
5. Tension Fabric and Finish Safely
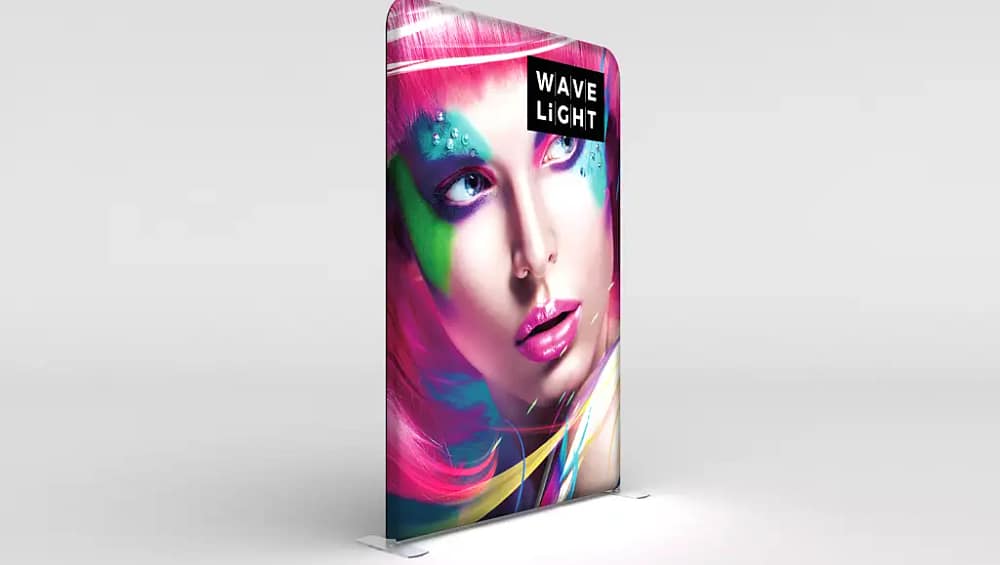
Starting from one corner, insert the silicone edge, working evenly around the perimeter rather than stretching one side at a time. Re-seat small sections to remove creases, instead of over-pulling and distorting the image on your WaveLight® LED Lightbox. Once lit, tidy leads behind the structure, using cable covers and approved tape to remove trip hazards. For brands investing in portable illuminated signage or custom lightbox designs, careful pack-down and padded storage will ensure your backlit advertising options stay pristine for the next campaign.
- Clarify stand goals and audience flow before deciding where to position your lightboxes.
- Audit all frame and lighting components against the kit list before you start assembly.
- Check frames for squareness at every stage to protect graphic quality and longevity.
- Test LEDs under venue lighting before fitting fabric to avoid rework on site.
- Develop a repeatable pack-down routine so your units are event-ready every time.
If you’re planning new UK trade show campaigns and want expert guidance on specifying and installing high-impact LED lightbox displays, speak to our team today to request a tailored quote and ensure your next event stand outshines the competition.