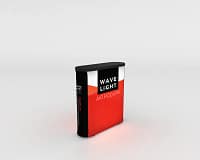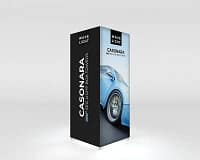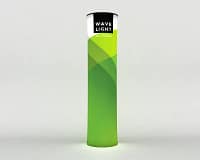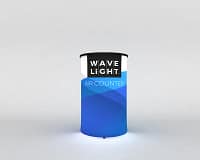
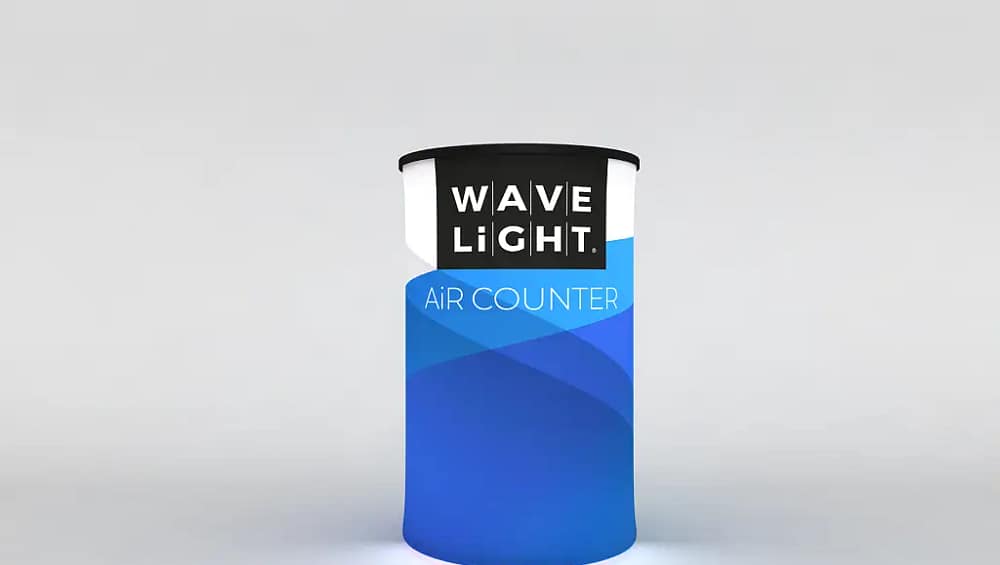
WaveLight® Air Counters are rapidly becoming a go-to solution for UK exhibitors who need fast, professional-looking illuminated event counters without complex build times. Whether you are preparing for a trade show, retail activation or corporate roadshow, getting the assembly right directly affects stability, branding impact and customer engagement. This guide breaks down the key steps and decisions that help teams assemble and use these units efficiently while avoiding last-minute headaches on site.
5 Steps to Assemble WaveLight® Air Counters for Maximum Impact
Successful setup starts long before the first pump of air. Treat your counter as a key part of your LED display counters strategy rather than a last-minute add-on. By following a clear sequence and assigning responsibilities, marketing and events teams can protect their investment, keep graphics pristine and ensure the counter works seamlessly with wider stand elements such as backwalls, towers and portable LED reception desks.
1. Prepare and Check Your Components
Begin by clearing a clean, flat space and laying out every part: inflatable base, counter top, LED strips, power leads and printed fabric graphic. Cross-check against your packing list to avoid discovering missing connectors just before doors open. Many teams now log components as part of broader digital counting solutions for event assets, reducing loss between venues. A short pre-event rehearsal in the office can reveal damaged parts or worn graphics before you reach the exhibition hall.
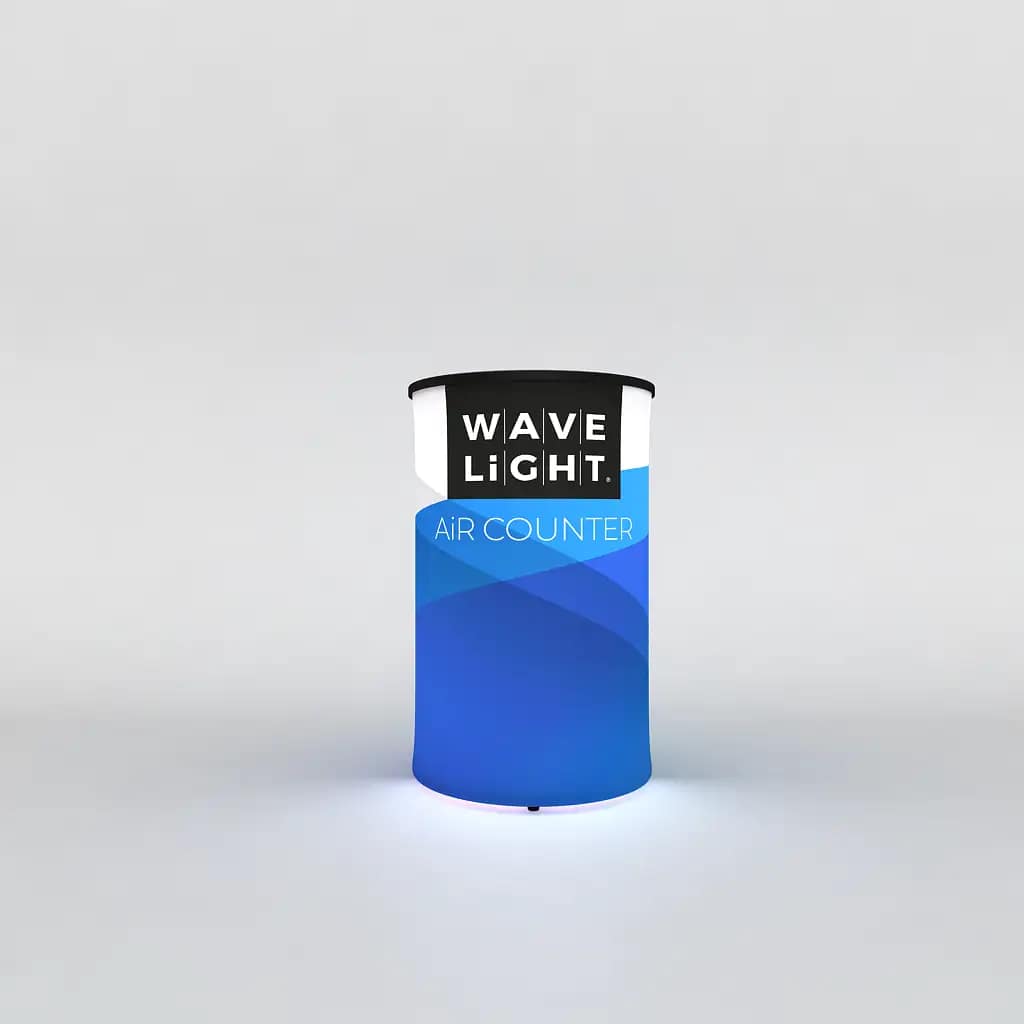
2. Inflate the Base Correctly
Attach the supplied pump and inflate until the body is firm and evenly shaped, avoiding both sagging sides and overstretched seams. Stable inflation is crucial if staff will lean on the unit or rest laptops, tablets and portable counting devices on the surface. In busy halls, an under-inflated counter can wobble and undermine confidence in your brand. Time the inflation process during your first run-through so you can plan realistic setup windows for future events.
3. Install and Test the LED System
With the base secure, follow the manufacturer’s layout diagram to position LED modules and route cables through the correct channels. Tidy wiring not only protects components but also ensures even light distribution across the graphic. Always power up before adding the graphic; this is when flickering sections, faulty power banks or battery-powered display counters with low charge will show up. Consistent illumination is what differentiates LED-lit branded counters from standard furniture, so do not skip this test stage.
4. Fit the Fabric Graphic Smoothly
Slide or wrap the printed fabric over the inflated structure, aligning logos and key messages with the front-facing side. Instead of hauling at corners, gently adjust the textile to remove ripples so the light can spread evenly behind your design. Many UK marketers now coordinate these graphics with illuminated event counters on adjoining stands to create a cohesive, high-impact visual line. Store graphics rolled, not folded, to minimise creasing between shows.
- Check seams and zips for strain once the graphic is in place.
- Confirm that branding is centred at typical eye level for passers-by.
- Ensure ventilation gaps and cable exits are not obstructed.
- Take quick photos for future reference on correct alignment.
- Record any marks or wear that might need reprinting before the next event.
WaveLight® Air Counters become even more effective when integrated into wider LED trade show counter systems and smart exhibition counting tech that track engagement, literature pick-ups and dwell time. For brands serious about measuring return on investment, pairing front-of-house counters with digital visitor counting tools and event traffic counting devices can reveal which messages genuinely pull in crowds. If you’re planning a refreshed stand or roadshow kit, speak to our team today about designing LED-lit branded counters that assemble in minutes yet deliver long-term impact across your full events calendar.