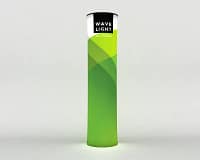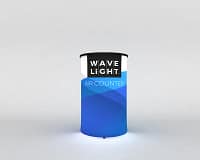
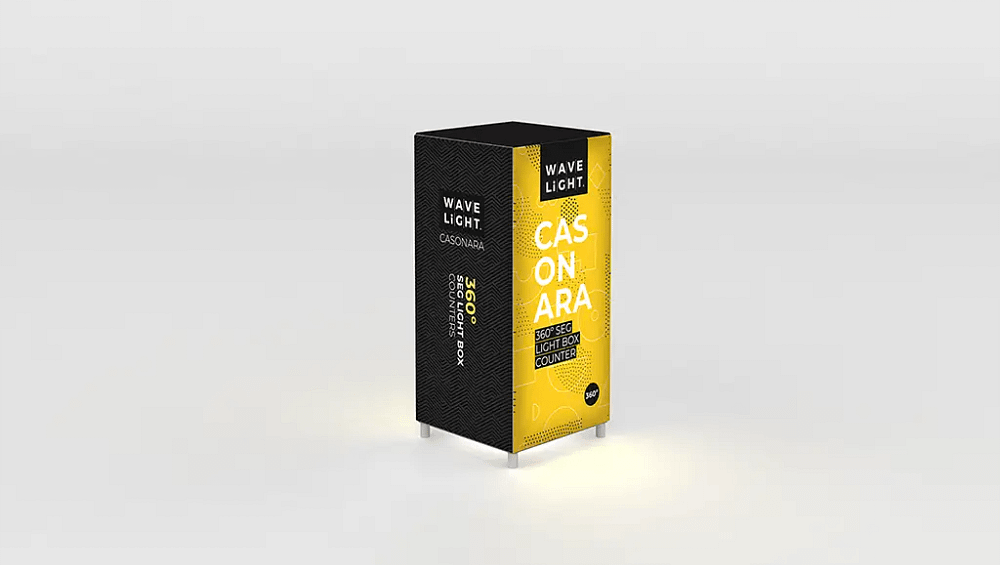
WaveLight® Casonara Counters: A Step-by-Step Guide to Brighter Event Branding
1. Unpack and Inspect Your Counter Components
Begin by unpacking all elements onto a clean, flat surface to avoid scratches or dirt transferring to your illuminated display counters. Check you have the aluminium frame sections, internal supports, countertop, base, power supply and printed fabric graphic. Use the supplied parts list to confirm everything matches and is undamaged. If anything appears bent, cracked or frayed, stop assembly and contact your supplier. A few minutes checking now prevents costly delays once you reach the venue.
2. Build the Aluminium Frame for Stability
Lay out the numbered or colour-coded frame sections in sequence before connecting them. Most high-quality exhibition stands use push-button or twist-and-lock joints, allowing you to assemble without tools. Press or twist each joint firmly until it clicks into place to avoid wobble later. Check the frame is square by measuring diagonals or visually aligning corners. A correctly assembled frame is the backbone of secure SEG fabric lightbox counters.
3. Install the LED Lighting Safely
With the frame on its side, clip or slide the pre-wired LED strips or panels into the designated channels. Keep cables untwisted and routed away from joints to avoid pinching when the structure is moved. Connect the lighting to the power supply but do not plug into the mains yet. A quick visual check ensures no dangling wires that could show through the fabric. Thoughtful cable management also extends the life of LED trade show counters.
4. Fit the Tension Fabric Graphic Cleanly
Stand the frame upright and carefully slide or zip the dye-sublimated graphic over the structure, starting from the top. Smooth the fabric as you go, working from the centre towards the edges to minimise creases. Ensure logos and key messages face the correct direction, particularly for UK custom display counters used in branded environments. Align seams with the frame edges for a crisp, professional finish. If necessary, gently reposition the material rather than stretching it excessively.
5. Add the Base, Countertop and Power
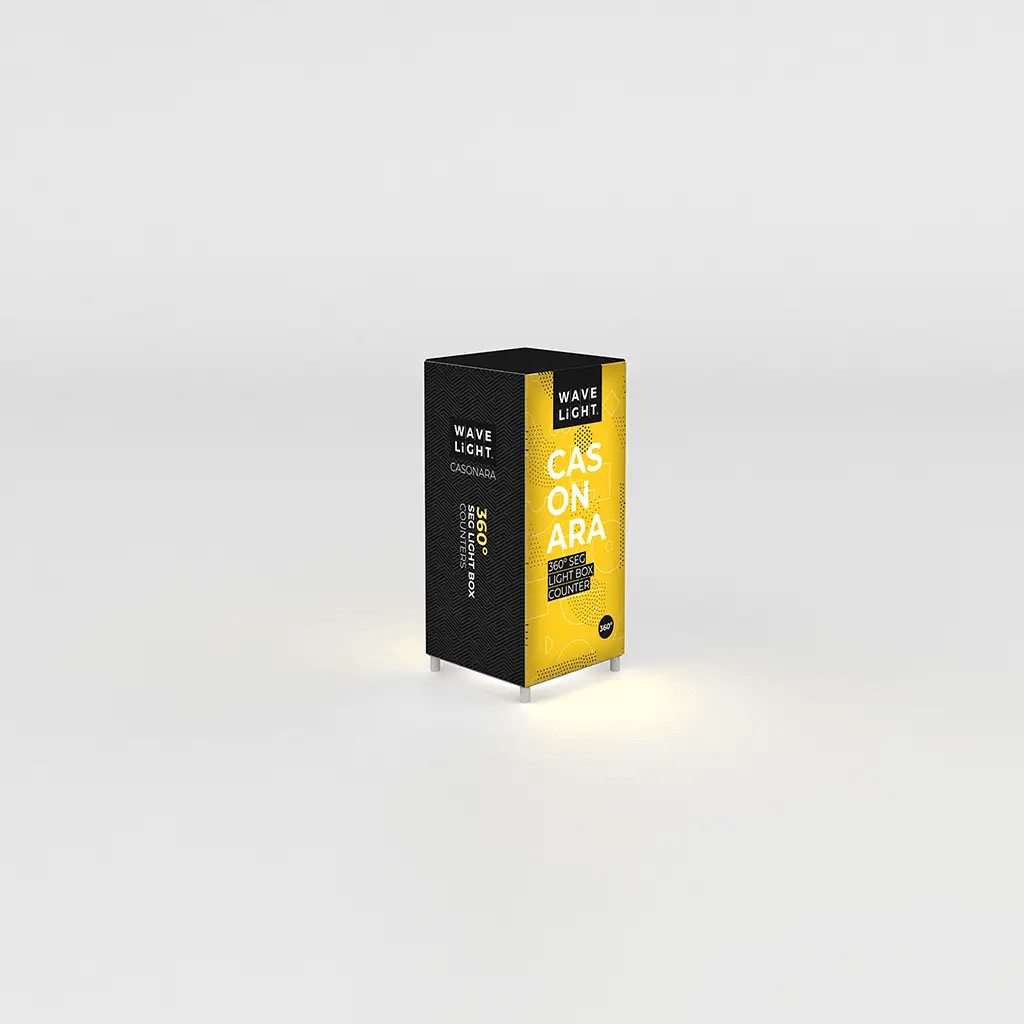
Position the base exactly where the unit will stand, then lower the assembled frame onto it, aligning any locating pins or brackets. Place the countertop on top, checking that it sits level and flush on all sides before tightening clips or screws. Once secure, connect the power supply to a suitable socket and switch on the illumination. Inspect for shadows or hotspots and make minor cable adjustments if required. When correctly assembled, WaveLight® Casonara Counters double as premium branded event furniture and backlit retail counter solutions.
- Use gloves when handling graphics to avoid marks on custom retail showcases.
- Transport lightweight promotional counter units in padded cases for protection.
- Allow extra set-up time at your first event to learn the modular exhibition counter systems.
- Test the lighting before doors open to ensure consistent brightness across portable illuminated reception desks.
- Store components in clearly labelled bags so future reassembly is faster and stress-free.
For UK marketers and event teams who need reliable illuminated counters ready in minutes, professional guidance can make all the difference. If you’re planning a new stand build or upgrading your display kit, speak with a specialist team who can advise on configuration, artwork and safe assembly so your WaveLight® Casonara Counters perform flawlessly at every show.