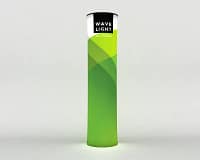
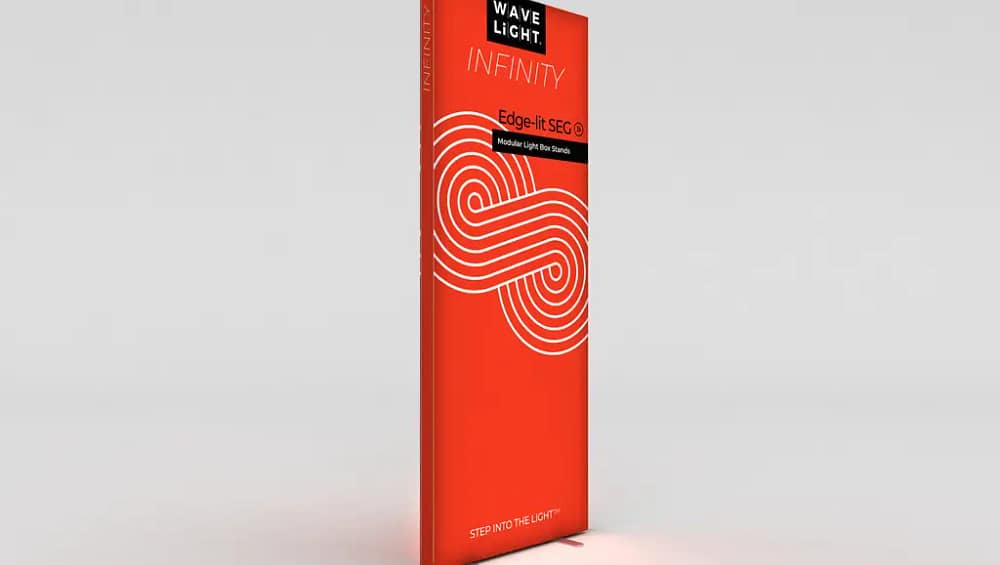
WaveLight® Infinity SEG Lightbox assemblies are becoming a staple for brands that need fast, professional illuminated fabric displays at exhibitions, retail promotions and roadshows. When deadlines are tight and venues are busy, a clear process can be the difference between a standout stand and a stressful install. This guide outlines the key steps to assemble your system safely, maintain visual impact and keep your events team working efficiently.
5 Steps to Assemble a WaveLight® Infinity SEG Lightbox for Events
Before you head to the venue, familiarise yourself with all frame profiles, connectors, LED arrays, power supplies and graphics. Checking these against the packing list at your warehouse or office helps you spot missing parts or damage early. Event managers frequently report that delayed courier deliveries and forgotten adaptors are what derail builds, not the frame itself. A short pre‑event inspection also protects the investment you have made in premium SEG display systems.
1. Unpack and Verify Every Component
On site, lay out all items in a clear zone away from visitor traffic and other contractors. Separate aluminium profiles, base plates, LEDs and transformers into distinct groups, then match them to the supplied diagram. This reduces the risk of assembling the wrong segments together under time pressure. Teams running reusable exhibition lightbox displays find that labelled bags or colour‑coded tape simplify repeat builds across multiple locations.
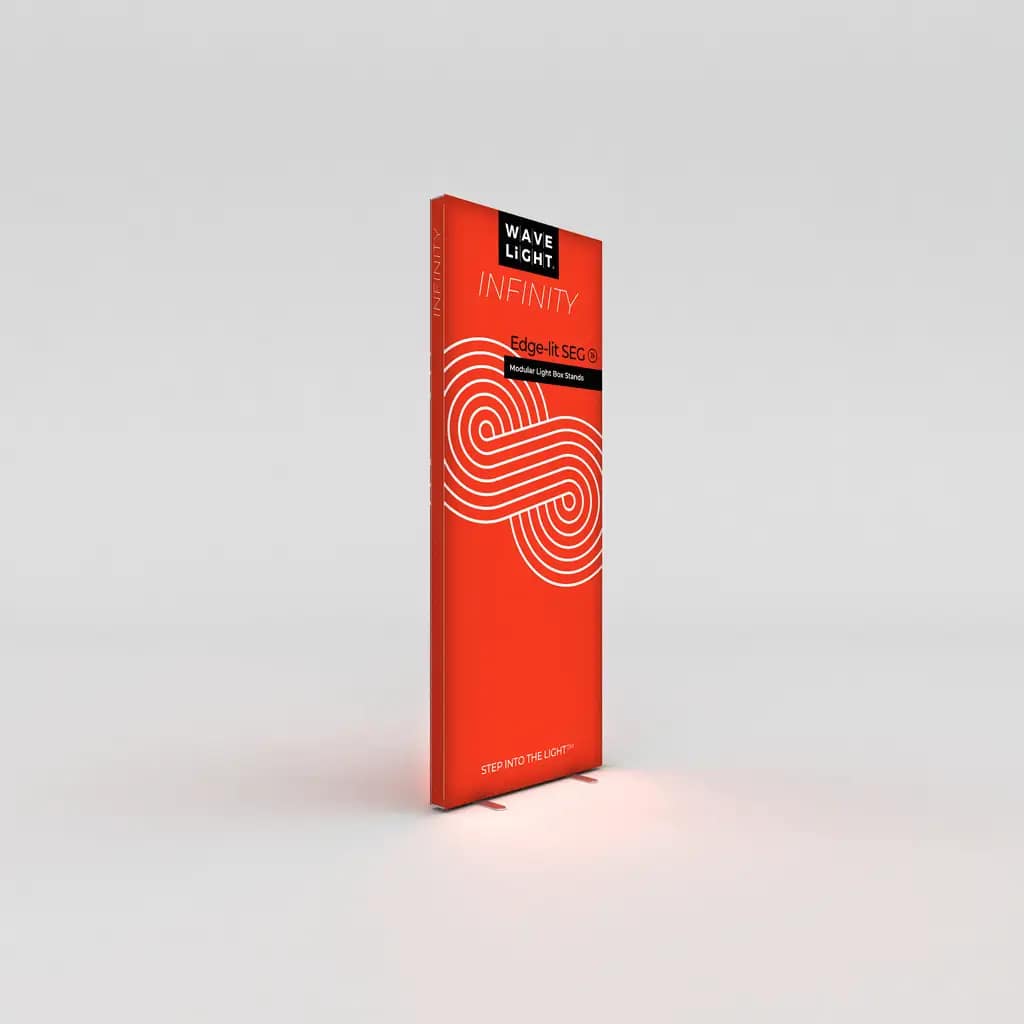
2. Build a Stable Aluminium Frame
Follow the numbering or colour system on the profiles so each side of the frame is correctly positioned. Push or twist connectors firmly until every joint is fully seated, checking there are no gaps at the corners. A misaligned join can cause a visible bow once the graphic is tensioned. For taller, modular illuminated display frames, assemble them flat on the floor and lift with at least two people to avoid strain and accidental damage.
3. Install the LED Lighting Cleanly
Clip LED strips or modules into the internal channels, ensuring they point directly towards the graphic area for even illumination. Keep cabling neat, running leads along the frame and away from hinges or potential pinch points. Poor cable discipline is a common cause of flicker in an energy-efficient LED lightbox when stands are moved. Before adding the fabric, plug the system in briefly to confirm all runs are working.
4. Fit SEG Fabric Without Creases
Place your custom SEG backlit graphics face down on a clean, dry surface to avoid marking the print. Start inserting the silicone edge from the centre of each side, then work calmly towards the corners. This centre‑out approach helps prevent ripples and keeps tension even, which is crucial for backlit advertising signs. If you see sagging, release a short section and re‑seat the gasket rather than pulling hard on the fabric.
- Check frame corners for full engagement before adding graphics.
- Test all LED runs for brightness and consistency prior to sealing the frame.
- Handle SEG fabric with clean hands to protect high-impact retail lightbox branding.
- Invest in custom lightbox solutions if you need edge-lit fabric lightboxes in unusual sizes.
- Consider a portable trade show lightbox kit for multi‑city campaigns and fast turnarounds.
Once the graphic is seated, power up the WaveLight® Infinity SEG Lightbox and step back to inspect for dark patches, light leaks or warped edges. Secure trailing cables and ensure freestanding feet are correctly weighted for public spaces. Brands that rely on illuminated fabric displays for national roadshows often standardise on reusable kits to protect budgets and maintain consistency. If you are planning a calendar of events, a versatile, reusable exhibition lightbox can significantly reduce set‑up time and long‑term costs. To discuss event‑ready custom lightbox options and get a tailored quote, speak with our display specialists today.