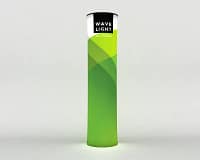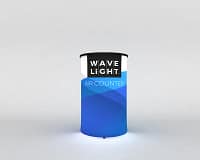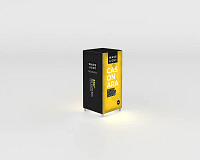

Trade show teams across the UK are under pressure to build stands that set up fast, look sharp and generate leads. WaveLine® Monolith Banners have become a go-to option because they combine a slim footprint with tall, edge-to-edge branding that dominates crowded aisles. This guide explains how to assemble them correctly so your stand appears polished, professional and press-ready from the moment doors open.
1. Prepare Your Space and Check Components
Start by clearing a clean, flat area on the exhibition floor or in your office so the printed fabric cannot drag on concrete or carpet. Lay out the carry bag or a soft cloth, then unpack and identify every component carefully. You should have aluminium frame sections, a base plate, screws or Allen key, and the double-sided fabric sleeve. Missing parts are a common cause of pre-show stress, so run this check at least a day before travel.
2. Assemble the Monolith Frame
Most WaveLine systems use a numbered or colour-coded, push-fit aluminium frame that clicks together without tools. Connect the sections to form the full-height rectangle, ensuring each joint is fully seated to avoid wobble. Fix the vertical uprights into the steel base plate and tighten any locking screws until secure. The goal is a stable but lightweight structure that can be moved slightly as you finalise your stand layout and align with other lightweight exhibition stands.

3. Fit the Fabric Graphic Sleeve
With the frame upright, have one team member hold it steady while another slides the fabric graphic over the top like a pillowcase. Work slowly to avoid snagging on joints and ensure the seams are aligned with the frame edges. High-quality dye-sublimated polyester will stretch slightly, allowing you to smooth out minor creases. This is where well-designed custom fabric displays deliver their impact, so take the time to ensure logos and messaging sit at eye level.
4. Tension, Zip and Final Checks
Once the sleeve is fully in place, gently pull it taut at the base and close the concealed zip along the bottom edge. Step back several metres and check both sides for ripples, twisting or skewed branding, adjusting the fabric as needed. Confirm that key messages are visible from main aisles and are not obstructed by furniture, portable banner stands or lighting rigs. For venues with darker halls, consider pairing your display with illuminated trade show displays or portable fabric lightboxes to boost visibility.
5. Disassembly and Safe Storage After the Show
When the event closes, reverse the process carefully to protect your investment. Unzip the sleeve, lift it off without letting it drag on the floor, and fold it loosely with the print side in to minimise creasing. Break down the frame, stacking sections in order back into the carry case for quick setup next time. Well-packed systems make it easier to reuse graphics across multiple shows, turning Waveline Monolith Banners into cost-effective, reusable display graphics that support ongoing campaigns.
- Check graphics against your stand plan before travel to avoid last-minute reprints.
- Carry a small toolkit and spare screws for emergency fixes on-site.
- Use consistent colours and fonts across all branded event signage for a cohesive look.
- Coordinate your monoliths with modular illuminated backdrops or premium LED banner walls for larger spaces.
- Store graphics in a dry, cool environment between events to extend fabric life.
If your team needs help choosing sizes, designing artwork or integrating monoliths with SEG backlit banner systems and other outdoor advertising solutions, speak to a specialist before your next show. A display partner experienced in Waveline Monolith Banners can streamline logistics, protect your budget and ensure your stand performs from the first visitor to the final lead scan. Enquire today to request a tailored quote and turn your next exhibition into a high-impact, lead-generating campaign.