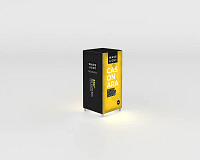
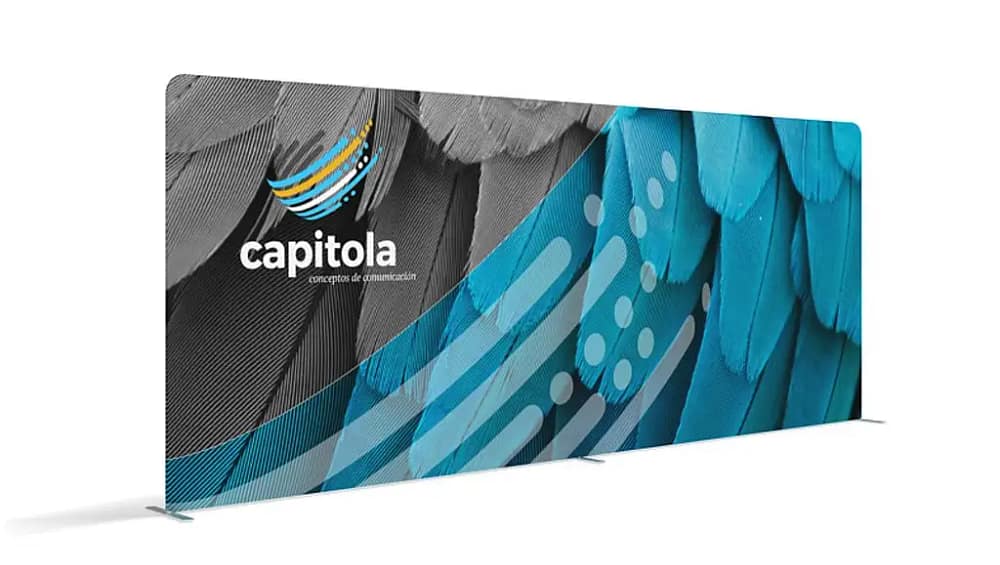
Trade show teams across the UK are under pressure to set up fast, look polished and keep costs in check. Understanding how to assemble Wavelight Tension Fabric Banners correctly can be the difference between a stand that pulls in visitors and one that looks underpowered next to rival fabric trade show displays. This step-by-step guide explains what to do on site and why it matters if you want your investment to deliver leads, not headaches.
1. Unpack and check all components
On arrival, move the carry cases to a clean, dry area before doors open. Lay out every section of frame, corner connector, base plate, graphic and, if supplied, LED base unit. Cross-check them against your kit list so you are not scrambling for missing parts ten minutes before a keynote. Teams using portable fabric banner systems should also inspect for transit damage, loose screws or frayed power cables before committing to the build.
2. Lay out and connect the frame
Arrange the aluminium tubing in numerical or alphabetical order on the floor, following the manufacturer’s diagram. Push-fit each piece until the spring buttons lock firmly into place, avoiding the temptation to force misaligned parts. Properly aligned tool-free display frames are not only faster to build but also less likely to twist once upright. For multi-panel UK tension fabric stands, build one frame at a time to avoid mixing sections under time pressure.
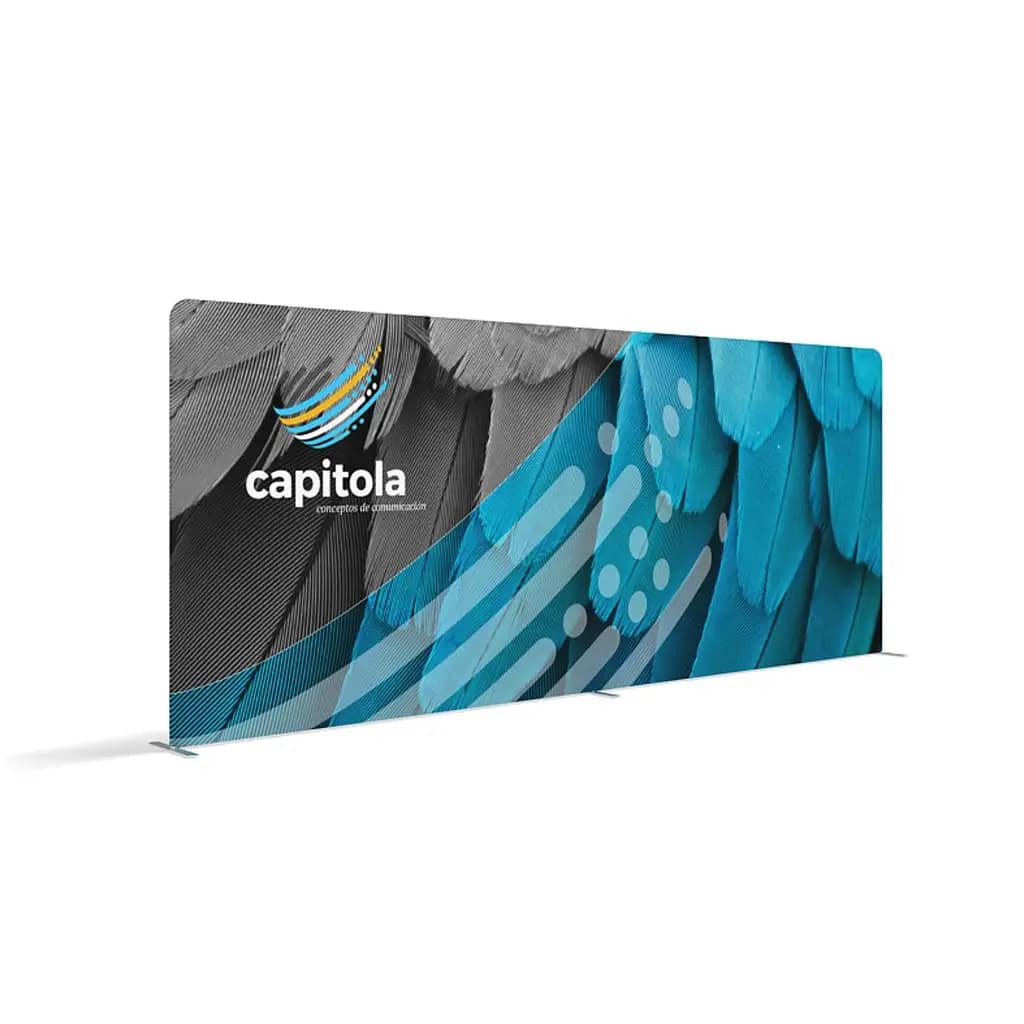
3. Attach the feet and secure the base
Once the frame is locked together, attach the stabilising feet or base plates beneath the vertical uprights. Hand-tighten knobs or screws evenly so the structure sits level on the hall floor, which is rarely perfectly flat. If you are using illuminated bases, connect the frame gently to avoid stressing LED wiring. Reliable portable tension banner stands should withstand light knocks from passing visitors without wobbling or rotating out of position.
4. Slide on and tension the fabric graphic
With the frame flat, locate the base of the zipped “pillowcase” graphic and slide it over the top in a smooth, even motion. Avoid yanking the fabric, especially around seams and zips, as this can stretch edges and distort artwork. Once in place, zip the base to create a taut, drumskin finish that showcases lightweight exhibition graphics to full effect. This stage is where high-quality printed fabric signs start to look genuinely premium.
5. Light, test and position for impact
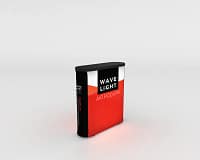
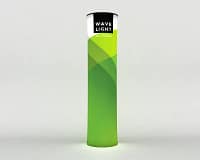
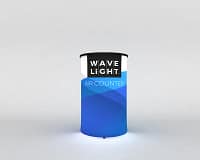
For backlit units, connect the power lead and test the illumination before final positioning. Walk around the stand to identify any hotspots, dark patches or visible frame shadows, adjusting the fabric gently where needed. Wavelight Tension Fabric Banners work best when cables are routed neatly and faces are free of clutter, giving your sales team a clean visual backdrop. Consider how reusable exhibition backdrops align with your product demos and traffic flow rather than simply filling empty space.
- Check every joint, zip and foot for movement before doors open.
- Keep a small kit with spare screws, tape and cleaning wipes on hand.
- Plan where portable tension banner stands will anchor key messages.
- Coordinate graphics so branded tension fabric walls frame product areas.
- Schedule five minutes pre-show to wipe and de-crease all fabric faces.
If your team wants faster builds, sharper graphics and a more consistent presence from show to show, it may be time to review your custom fabric display solutions. A specialist supplier can advise on stretch fabric banner printing, portable fabric banner systems and integrated lighting that support your sales process rather than distract from it. To discuss tailored Wavelight solutions for your next event, speak with our exhibition display specialists today and request a no-obligation quote.