How to Assemble WaveLight® Casonara Banners: A Step-by-Step Guide
5 Reasons Proper Assembly of WaveLight® Casonara Banners Matters
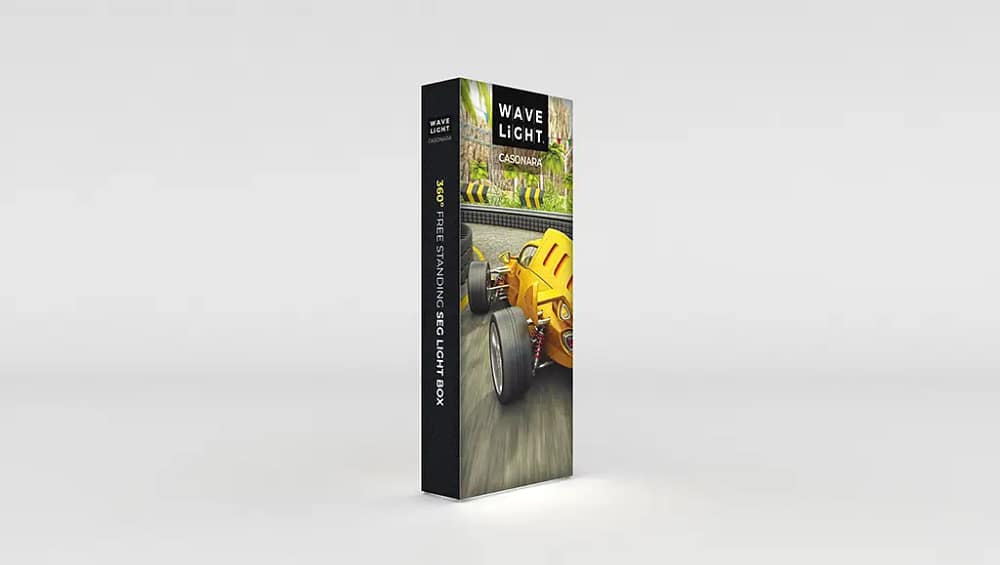
WaveLight® Casonara backlit displays have become a staple at UK exhibitions because they combine slim frames, LED lighting and stretch fabric into high-impact event signage. When assembled correctly, they deliver a smooth, even glow that instantly upgrades your stand. When rushed, they can look creased, dim or unstable, undermining even the best design. This guide walks you through assembly while highlighting the hidden pitfalls that often catch exhibitors out on a busy show floor.
1. Accurate Unpacking Protects Your Investment
Start with a clear, flat workspace and unpack every component slowly, checking against the packing list. Frame sections, corner connectors, base feet, LED arrays and power supplies are all vulnerable to knocks during transport. Identifying bent rails or missing connectors before you reach the venue gives you time to arrange replacements. For agencies managing multiple custom fabric displays, a simple checklist system can save hours and avoid last-minute panic on build-up day.
2. A Solid Frame Ensures Professional Finish
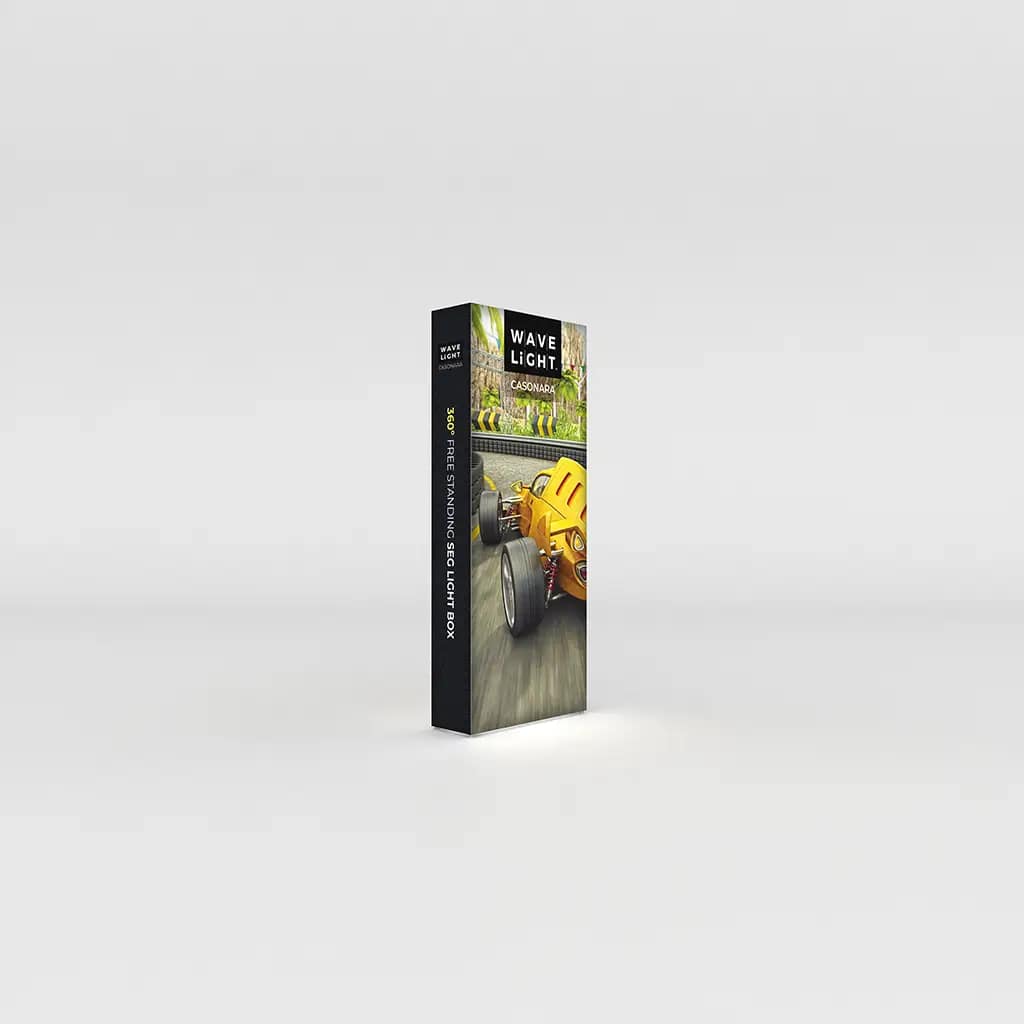
Lay out the labelled aluminium profiles on the floor and connect each section until you hear a positive click. Take particular care at the corners and base feet, where minor misalignments can twist the structure. A true, square frame is essential for tensioning fabric exhibition backdrops without ripples. Exhibitors often discover wobble only after graphics are on, when adjustments are harder and risk scuffing your printed panels.
3. Correct LED Placement Delivers Even Illumination
With the frame upright, fit the LED light arrays into their designated channels, ensuring every diode faces inwards. Keep cables routed down one side, clipping them securely to avoid shadows and meet venue safety rules. Poorly placed strips can create patchy illuminated event signage that distracts from your message. For brands investing in premium trade show displays, consistent brightness is critical to conveying quality and reliability.
4. Tension Fabric Graphics Create Seamless Branding
Lay the frame back down and start inserting the silicone edge of the fabric panel from the top corners, then work evenly around all sides. Rotating between opposite edges keeps tension balanced and prevents diagonal creases that show once lit. Many marketing teams reuse these panels as reusable exhibition graphics across multiple shows, so take time to avoid overstretching or forcing the fabric. This care helps maintain colour accuracy and the sharp lines needed for backlit branding walls.
- Check the printed side faces outwards before you start tucking in the silicone edge.
- Smooth the fabric gently with flat hands rather than pulling hard on one corner.
- If resistance is high, backtrack and re-seat the opposite side to rebalance tension.
- Inspect seams and joins before powering the unit, when fixes are quicker and cleaner.
- Store folded graphics loosely to minimise creases between events.
Once graphics are fitted, connect the LEDs to the power supply and only then plug into the mains. Switch on and look for dark patches, flicker or visible seams; these are early warnings that a strip is loose or a panel is under-tensioned. Correcting them now protects your investment in modular fabric lightboxes and portable display solutions. For multi-stand campaigns, Waveline Casonara Banners can integrate with event promotional banners and outdoor advertising solutions to deliver a joined-up visual story. To plan a coordinated suite of fabric displays and high-impact event signage for your next show, speak with a specialist team today and request a tailored quote.