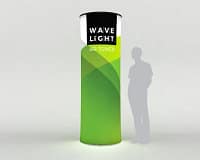
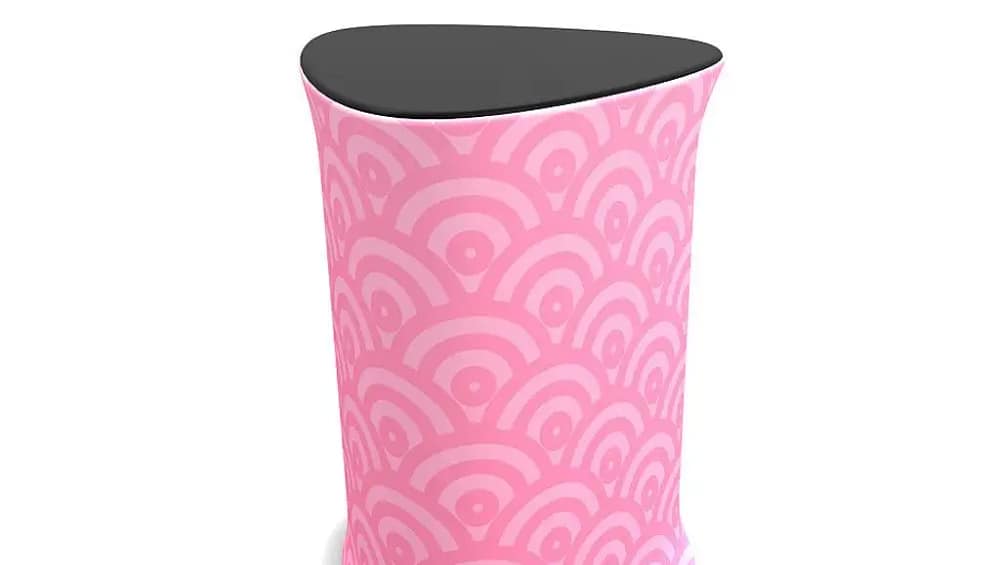
Brandcusi® Counters are fast becoming a staple of UK trade shows, conferences and retail activations, but busy marketing teams still need clear, reliable guidance on how to assemble them under pressure. When your exhibition crew is working to tight install windows, a structured approach keeps stress low, branding sharp and health and safety officers happy. This guide breaks down the key steps to set up portable display counters efficiently while protecting graphics, hardware and your event ROI.
7 Steps to Assemble Brandcusi® Counters for Your Next Event
Start by preparing your build space near the stand, choosing a flat, open area with enough room to move around without tripping over kit or cases. Lay a clean cloth or carpet tile so the countertop and printed wrap are not scratched before the show even opens. Unpack the base, poles, fixings and graphic panel, checking everything against the packing list supplied. This simple stocktake helps avoid last‑minute scrambles for missing parts on a live show floor.
1. Position and Level the Counter Base
Place the base where visitor traffic is expected to be strongest, such as aisle corners or demo points. On older exhibition halls with uneven flooring, use shims or built‑in adjusters to remove wobble before you add any weight. A secure base is the foundation of all reliable event counter solutions and reduces the risk of accidents. Take a moment to double‑check sightlines so staff can engage delegates without blocking key graphics.
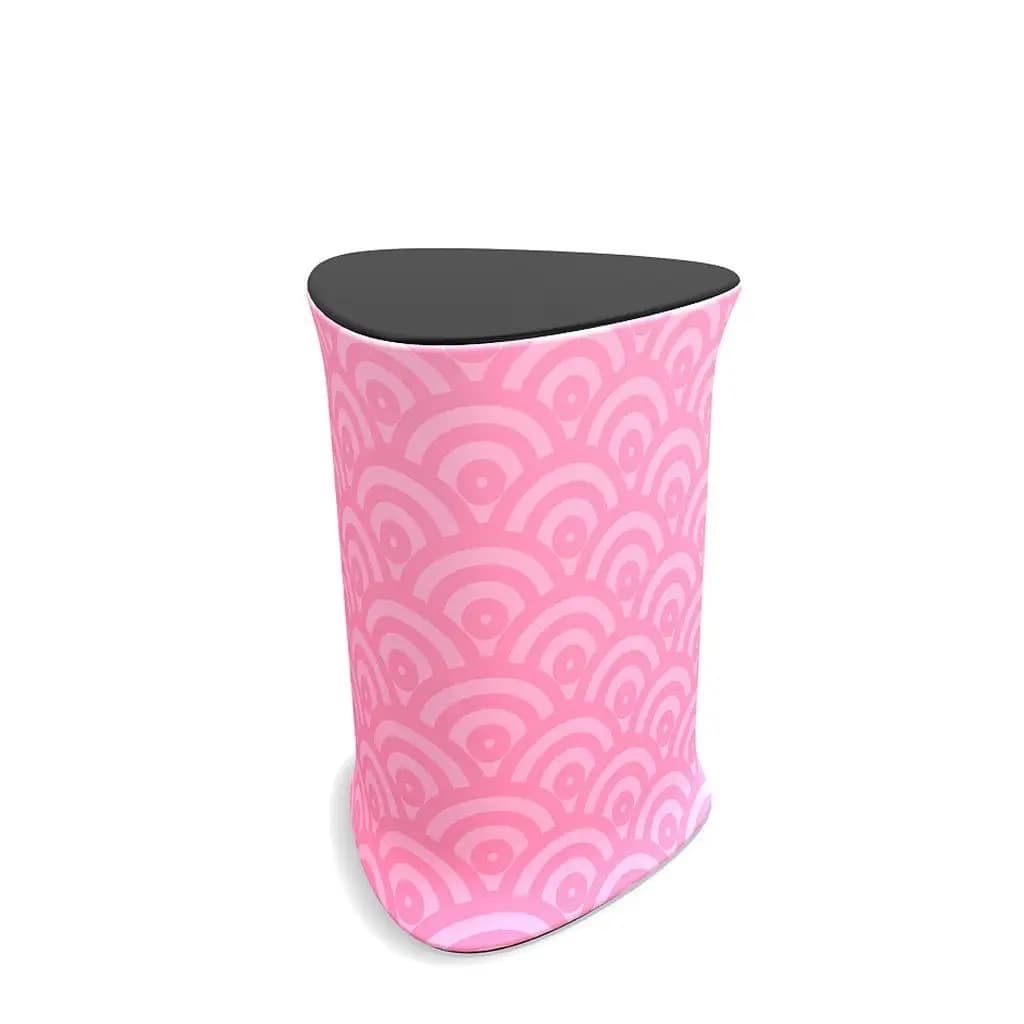
2. Fix Support Poles for a Rigid Frame
Insert the support poles fully into the base, whether your system uses push‑fit, twist‑lock or screw‑in connections. Half‑engaged poles are a major cause of leaning structures, especially once laptops, tablets or product samples are added. Give each pole a firm twist or push so you can feel it lock. At this stage, you are effectively building the skeleton that will support your custom display counters and graphics throughout the event.
3. Align and Secure the Countertop
Lift the countertop carefully, keeping fingers clear of fixing points, and line it up with the tops of the poles. Lower it straight down rather than dragging it across metal, which can chip finishes and shorten the lifespan of high-quality counter designs. Once fastened, apply gentle pressure at each corner to test stability. A level, rock‑solid top not only looks professional but also reassures staff placing valuables such as cash tins or handheld devices.
4. Wrap the Graphic Panel Without Creases
With the frame complete, unroll the printed graphic panel and check orientation so logos and calls to action face the right direction. Most portable display counters use magnetic or Velcro-style strips, so start at one corner and work methodically around, smoothing out air bubbles as you go. Never stretch the material to make it fit, as this can damage the print and distort branding. This stage is where branded retail showcases win or lose visual impact.
5. Install Internal Shelving and Cable Routes
Follow the manufacturer’s guide to add any internal shelves, paying attention to recommended load limits. Place heavy items such as catalogues or giveaway stock on the lowest levels to keep the centre of gravity down. When setting up screens, laptops or charging bays, route power leads neatly through gaps or grommets. Tidy cable management is a hallmark of professional trade show counter designs and keeps front‑of‑house staff operating safely.
6. Conduct Final Stability and Branding Checks
Step back and view the counter from different angles, checking that text is legible from the aisle and key messages are not hidden behind clutter. Gently rock the structure to confirm it can withstand constant leaning from visitors. If you spot misaligned graphics, refit the panel immediately rather than hoping no one will notice. Well‑finished modular exhibition counters signal attention to detail and help build trust with time‑poor buyers.
7. Plan for Reuse and Fast Turnarounds
After the show, disassemble in the reverse order, taking care not to crease or scuff the printed wrap as you roll it. Pack all components back into their designated slots so your team can achieve repeatable, fast builds at the next venue. Investing in reusable branded counters and lightweight promo counters cuts long‑term costs while supporting sustainable event strategies. Over multiple outings, consistent assembly standards protect both budget and brand reputation.
- Create a standard operating procedure so any trained staff member can assemble counters confidently.
- Schedule a short rehearsal build at the office before a major trade show or product launch.
- Label cases clearly so bases, poles and wraps are easy to identify on site.
- Train staff to spot early signs of damage to portable reception desks and replace parts promptly.
- Review how Brandcusi® Counters performed after each event and refine your build process.
For marketing teams running multiple shows a year, partnering with specialists in event counter solutions can remove much of the risk and guesswork. Expert suppliers help you specify portable reception desks that match your floorplan, advise on retail showcase solutions and recommend accessories that streamline on‑site workflows. Whether you need portable display counters for nationwide roadshows or a suite of portable reception desks for corporate events, professional guidance ensures every square metre works harder. To discuss Brandcusi® Counters, graphics and integrated stand packages tailored to your schedule and budget, request a quote today and speak with a display specialist.